Vanilla Birthday Cake

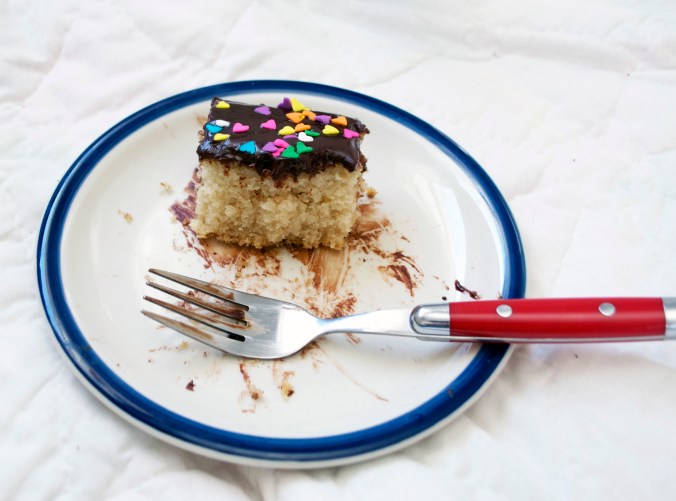
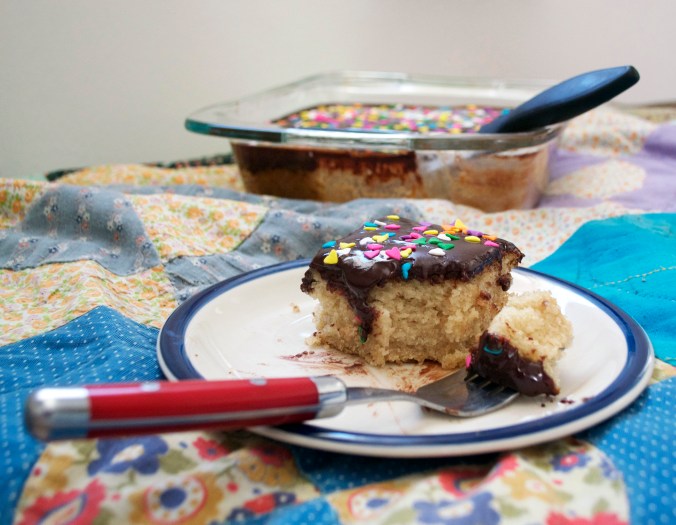
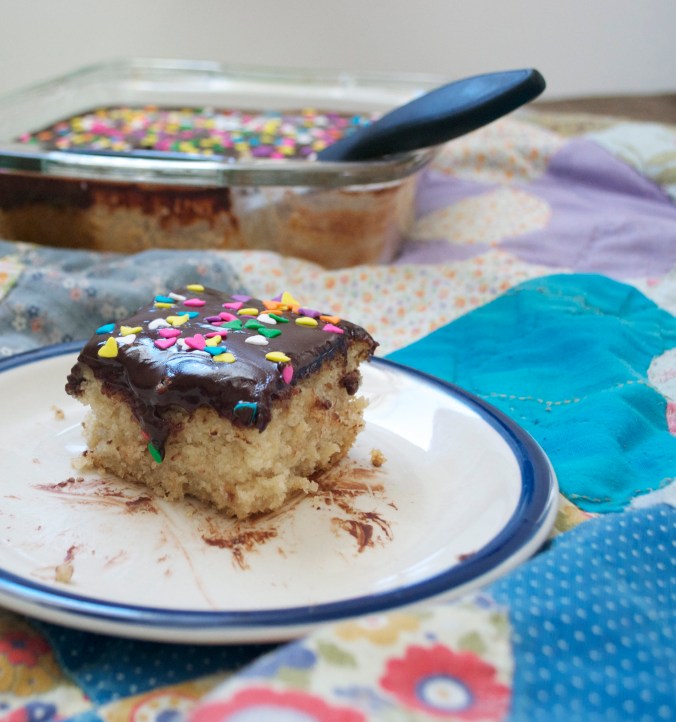
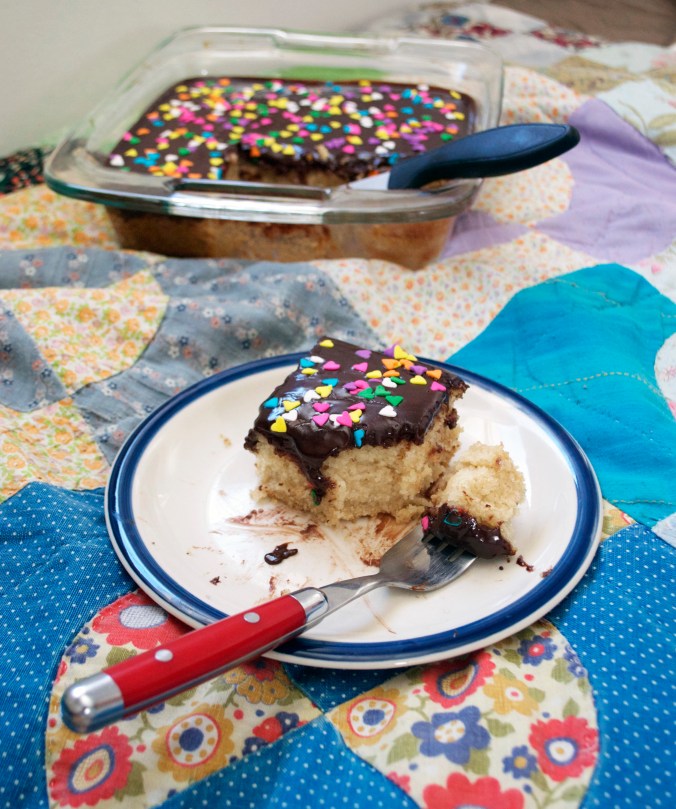
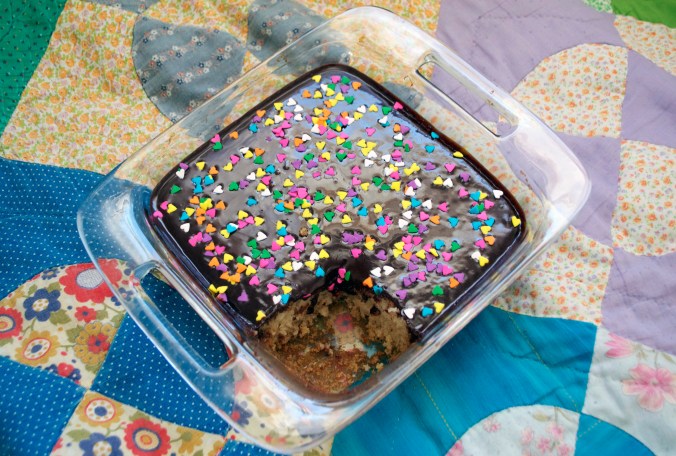
This beauty was Stephen’s birthday cake! His birthday was April 4th, haha. And I believe I made this cake somewhere around the 5th or 6th. And am now posting it on the 26th. Oh well, good things come to those who wait – you!

I think I made this cake just to use the multi-colored heart-shaped sprinkles I picked up from the Farmer’s Market. Way cuter than ordinary, run of the mill, multi-colored sprinkles! Oh, and because I tried to make this beautiful Chocolate Guinness Bundt cake & failed. Hard. I’m sure the recipe is usually wonderful. I blame the Nordic Ware Cathedral Bundt Pan. Nooks & crannies galore.

The vanilla cake turned out moist and flavorful. And the ganache was delicious… I mean, it was chocolate ganache… of course it was delicious. I usually use Cathy‘s Chocolate Ganache recipe (my favorite) but had just run out of maple syrup & powdered sugar making treats for a bake sale. So I made a variation that worked out quite well. It was a bit thinner without the powdered sugar so I stuck it in the freezer for a few minutes to firm up.

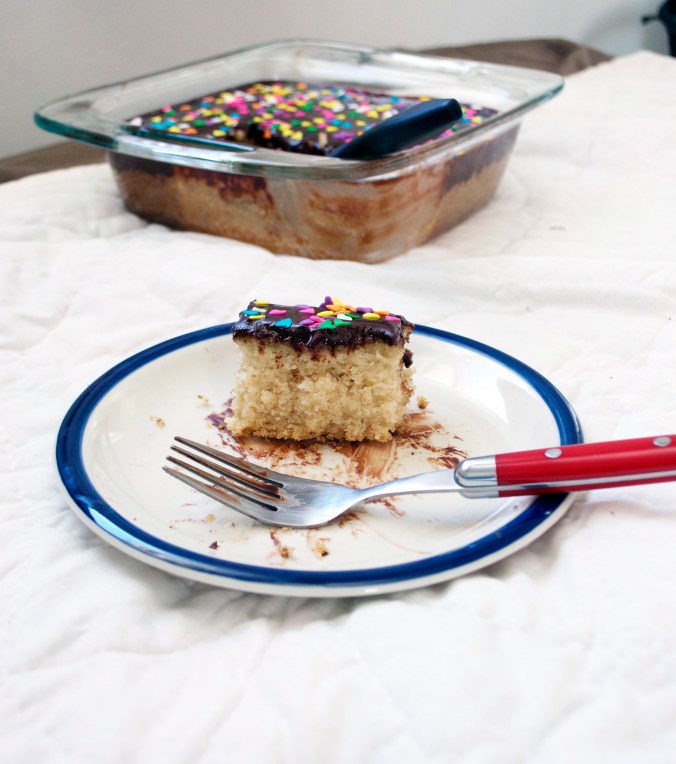
We couldn’t stop eating this cake. If you have a keen eye you may notice the last picture only has one piece of cake missing but the others have two. And there’s already chocolate smeared across the bottom of the plate! What can I say? It was yummy!!

Vanilla Birthday Cake with Chocolate Ganache

Makes one 8×8 sheet cake. 

  • 1 Cup Almond Milk
  • 2 Tbsp Apple Cider Vinegar
  • 1 Tbsp Vanilla
  • 1/2 Cup Canola Oil
  • 1/2 Tsp Salt
  • 1 Cup Sugar
  • 1 1/2 Cups AP Flour
  • 1 Tsp Baking Soda
  • 1 Tsp Baking Powder

Pre-heat the oven to 350 F. Grease 8×8 cake pan.

The ingredients are listed in the order of addition. In a large bowl combine almond milk & vinegar. Let sit for about 5 to minutes until milk curdles slightly. Add vanilla & oil. Stir to incorporate oil. Add salt & sugar and stir to combine. Sugar should begin to dissolve. Add flour, baking soda & baking powder. Combine thoroughly. Pour into prepared baking dish.

Bake for about 35 minutes or until light golden in color and knife inserted comes out clean. Let cool before spreading ganache.

Chocolate Ganache

  • 1/4 Cup + 2 Tbsp Almond Milk
  • 4 oz  Chocolate, use best quality for best results
  • 3 – 4 Tbsp White Sugar

Melt all ingredients together in a double boiler. If you’re making this cake in your boyfriend’s apartment & find yourself without a double boiler… or even the means to create a makeshift double boiler… melt very slowly over low heat directly on burner. Some may recommend the 30 second increment microwave technique but I never use it. I’ve tried in the past with disastrous results. And since you’re using the best quality chocolate you can find, proceed with caution!

If you find that your ganache is not firming, place the mixture in the refrigerator for about 20 minutes or freezer for 5 to 10, to speed along the process. It will still have a slight gooey quality at room temperature but will not be runny.

Once the cake has completely (or mostly, for those of you with as much patience as me!) cooled, pour the ganache on, to cover completely. Spread to make even, if necessary.

Decorate with desired sprinkles and serve!! Sooooo yummy.
Banana Bread Cake

It’s Stephen’s birthday today! Happy Birthday, Tater Tot!

This is not his birthday cake.

He didn’t want me to make his birthday cake until his actual birthday so I’ll be making a Chocolate Guinness Bundt Cake inspired by Fat Girl Trapped in a Skinny Body’s recipe. I’ll post that cake later!

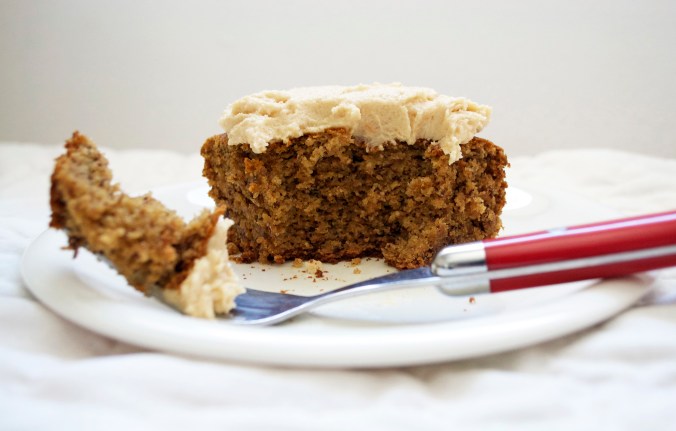
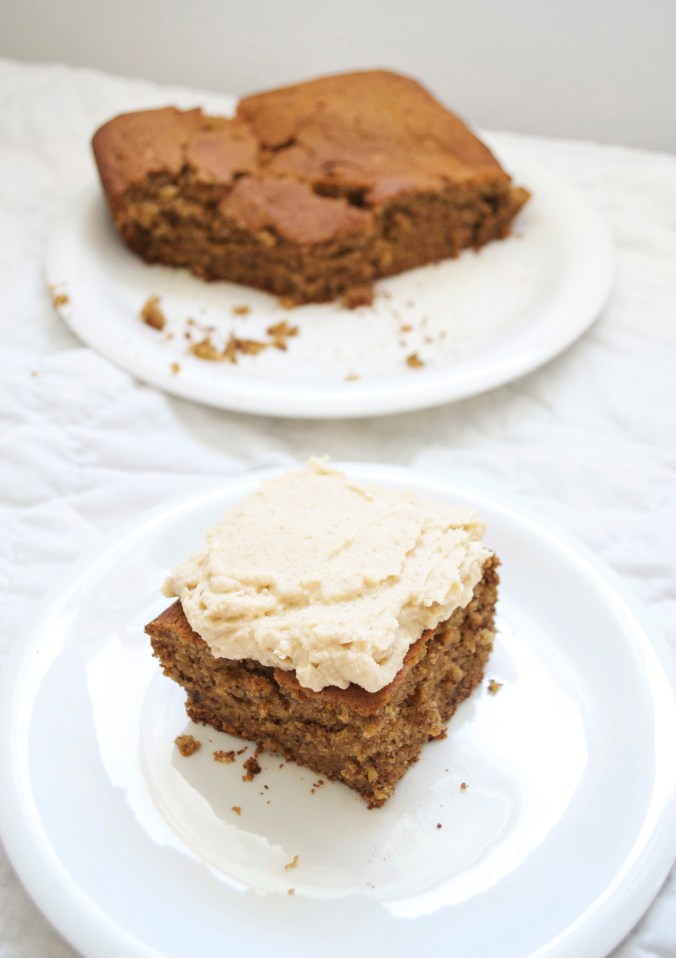
Anyway, we bought a few organic bananas from Wegman’s and I really really wanted to make banana bread. But in the spirit of birthdays I decided to make a cake! (I swear it had nothing to do with the fact that Stephen’s college apartment is not equipped with a loaf pan… but somehow manages to have two 8×8 pyrex pans.) And since I was making a cake I figured I had to add icing! I thought about banana icing and I was like yeck, too much banana. I thought about vanilla icing and I was like meh, boring. I also thought about chocolate icing but I was like hmmm, overpowering. Then I thought about recipes I’ve seen in the past that used peanut butter icing and I thought I’d give it a whirl.

I am going to be totally honest here – I think the banana bread cake would have been BETTER without the icing. I mean, the icing is good icing. It’s just overpowering.. like I thought the chocolate would be. Banana bread itself is moist and delicious and needs NOTHING to make it better. And this recipe is no exception. It’s going to be my new banana bread (cake) recipe. Sure, you could toast it, add a little butter but that’s not really changing the flavor profile. I ate one piece of this cake… Stephen ate the rest. I think he may disagree about the icing.

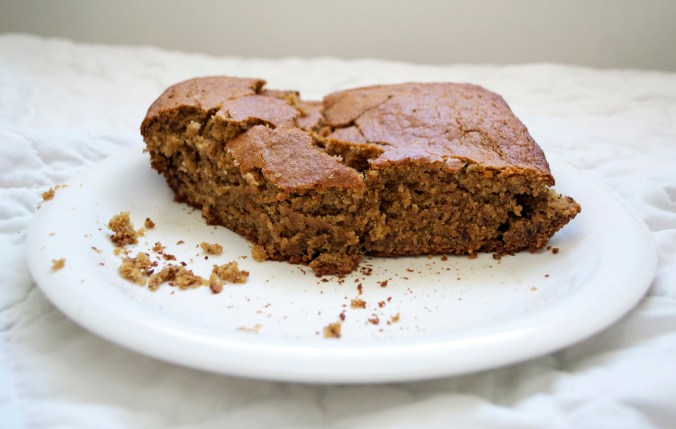
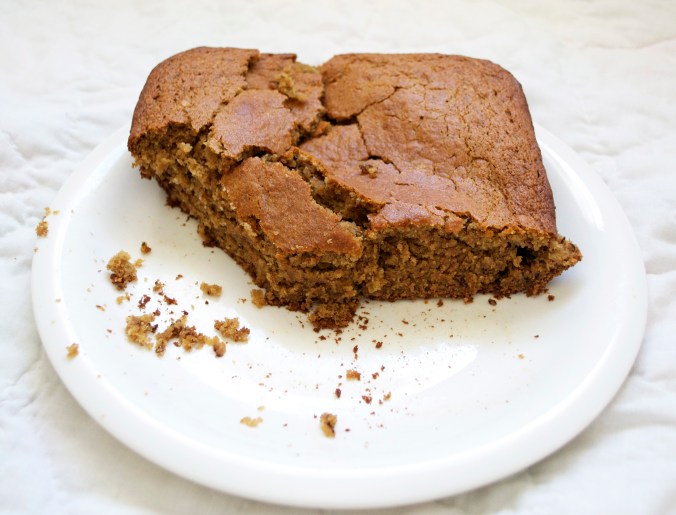
Oh, and I also removed it from the pan like it had to cool or something… like I’d never made a sheet cake in my life or something THEN I tried to flip it over with a long spatula because I thought… well this is a rather small cake… it’ll work. And it landed on it’s side on the table and started to smush and I panicked and oh lord. And then Stephen told me he had just cleaned the table and I thought he was yelling at me but he was really saying “at least I’ve just cleaned the table,” as in, the cake is still perfectly good and not compromised by dirty table. But then I ate a piece of the broken cake without icing… pre-icing… and I was like DAMN THIS SHIT IS GOOOOD.

Banana Bread Cake

  • 3/4 Cup Banana Mash (About 1.5 bananas)
  • 1/4 Cup White Sugar
  • 1/3 Cup Brown Sugar
  • 1 Ener-G Egg (or flax egg, or real egg)
  • 1/2 Cup Oil
  • 1/3 Cup Oat Milk
  • 1/4 Cup Almond Milk (I actually added this at the end because I thought the batter seemed a bit thick… and I had run out of oat milk)
  • 1 Tsp Vanilla
  • 1 1/2 Cups Whole Wheat Flour
  • 1/4 Tsp Salt
  • 2 Tsp Baking Powder
  • 1 Tsp Baking Soda

Peanut Butter Frosting

  • 1/4 Cup Vegetable Shortening
  • 1/3 Cup Peanut Butter
  • 1 1/4 Cup Granulated Sugar
  • 3 Tbsp Almond Milk

Preheat your oven to 350F. Grease an 8×8 glass pan.

Notes: *Stephen’s oven is small (it’s portable). I’d say at least a half foot smaller than most ovens in height & width. I don’t know how this affects temperature/cooking time. So keep an eye on your cake! *The cooking will also be affected if you use a metal pan instead. I find, in a glass pan, cake takes longer to cook. *I used the granulated sugar in the frosting recipe to make homemade powdered sugar, which I then incorporated into the icing. If you already have powdered sugar and want to skip this step the measurements may be slightly different.

To make the cake, in a large bowl, mash 1.5 avg sized bananas. It should make about 2/3 cup of banana mash. Mash it real good 😉

Add the sugar, egg, oil, milk & vanilla. Combine with whisk or fork until everything is fully incorporated.

Add flour, salt, baking powder & baking soda. I always just use my fork and kind of mix the dry ingredients together while they float on the wet before mixing it all together. Why dirty another bowl? Stir it all together until thoroughly combined.

Pour the batter into the already greased baking pan. Cook in oven for 30 – 35 minutes or until top of cake springs back or knife inserted in center comes out clean.

While the cake is cooking, begin making the frosting.

Add sugar to blender and whirl on high speed until sugar is broken down into powdered sugar.

Thoroughly combine shortening & peanut butter in a large bowl (I actually quick rinsed out the first and re-used it).

Add powdered sugar & combine until fully incorporated. Add milk one tablespoon at a time until the frosting is the consistency you prefer.

Wait until the cake has, at least, mostly cooled before icing!

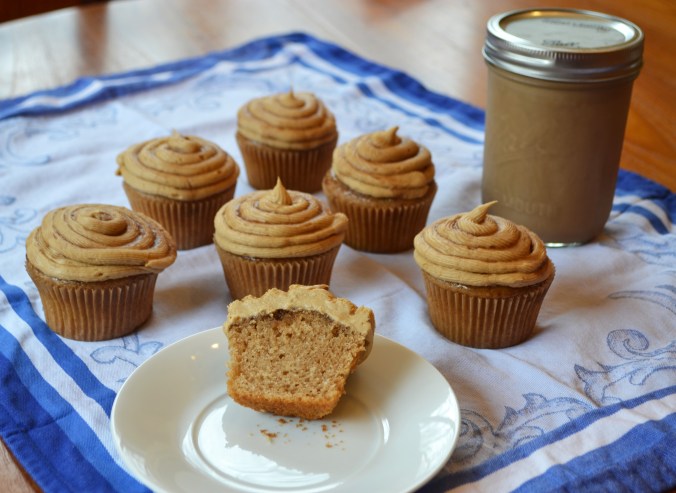
Irish Cream & Cupcakes

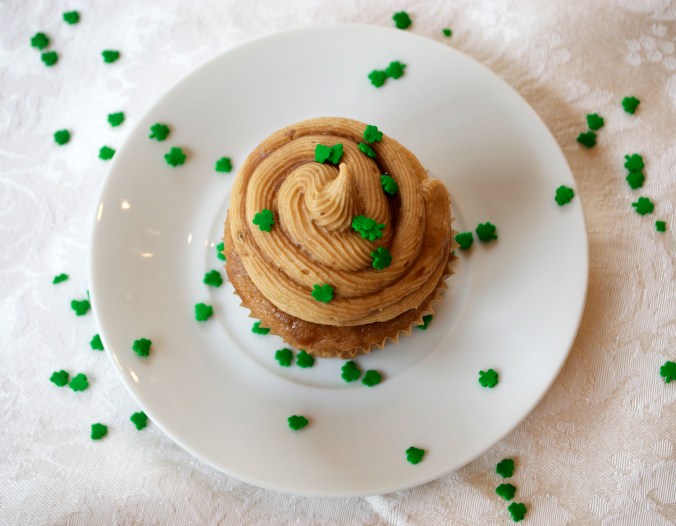
This post comes days late!!! Sorry I missed the Saint Patrick’s Day fun. But hey, you can still celebrate.

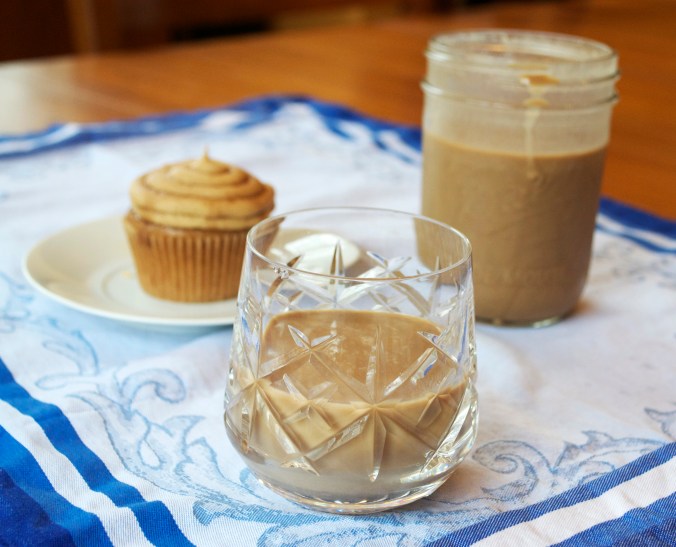
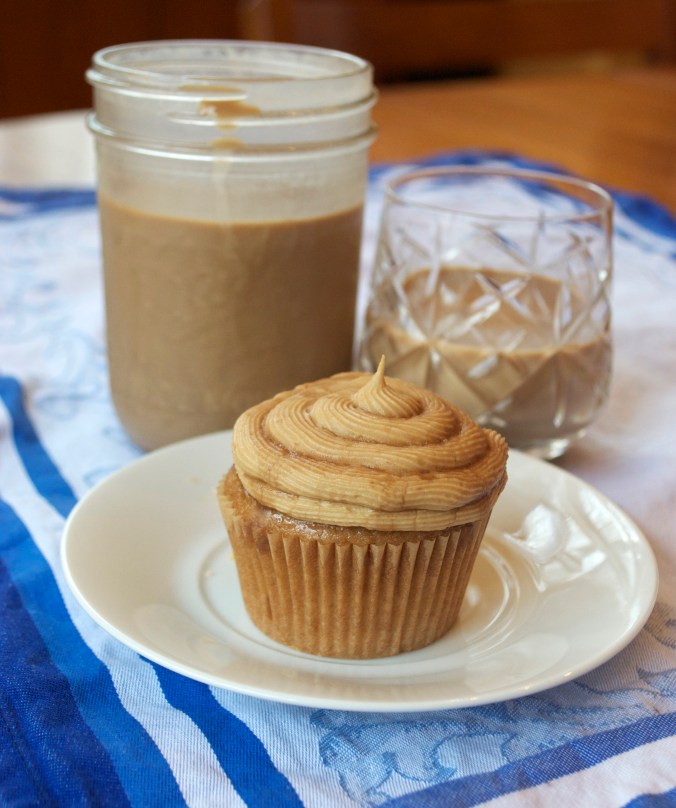
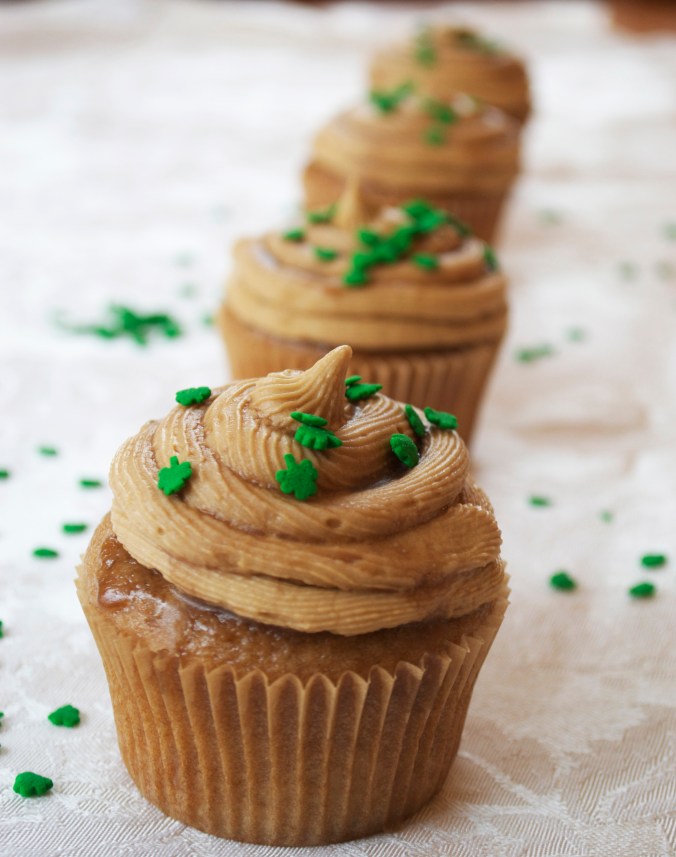
This vegan Irish Cream is out. of. this. world. I think I like it even better than the dairy version. Ha, and I only made it because I’d been dying to make Vegan Irish Cream Cupcakes. Without chocolate.

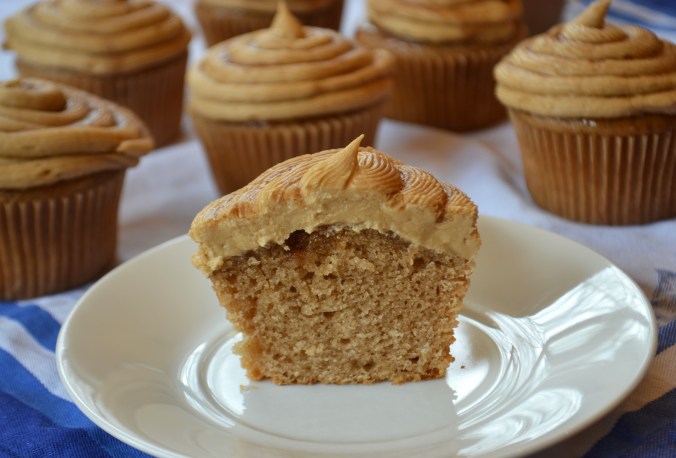
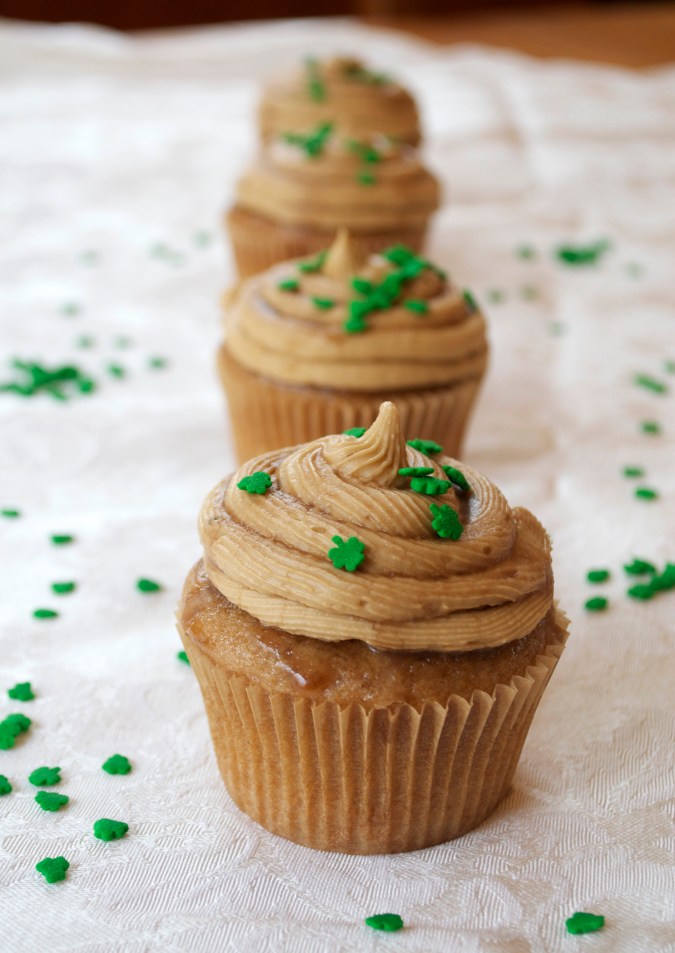
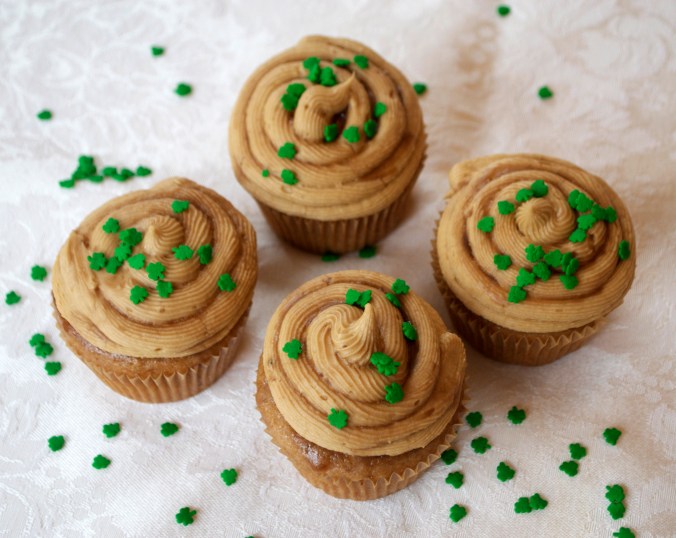
They, like the Irish Cream itself, turned out incredible. My dad raved about them. He said “these cupcakes are the best ever.” And when mom told him to stop eating them, he said “I can’t! They’re the best cupcakes in the world, ever.” LOL. He also asked if they were vegan and I said yes, and he said wow! Hahaha. It is a good memory. I didn’t even get mad when he threw away my quinoa stew this morning because I’d left it out through the night (I like the flavors to develop out of the fridge).

Then, later tonight my mom AND Emily were going wild about them. I mean, I thought my lemon coconut cake was good but apparently these are heavenly. And they’re gone. Or their might be one left. But that’s saying something since there were only 4 people eating them and they’ve been around just over 24 hours. Don’t judge… I’m not sure anyone could eat just one.

Vegan Irish Cream

  • 1 Can Thai Coconut Milk
  • 2 1/2 Cups Regular Unsweetened Coconut Milk (So Delicious)
  • 1/2 Cup Sugar
  • 2 Tbsp Instant Espresso
  • 2 Tbsp Chocolate Syrup
  • 1 Tbsp Vanilla Extract
  • 1/4 Tsp Almond Extract
  • 3/4 to 1 Cup Irish Whiskey (or to taste, I like mine weak)
  • Pinch of Salt

Cook all of the coconut milk & sugar over medium heat until lightly boiling. Let simmer until thickened. About 15 minutes. Keep an eye on the pot. You don’t want to cook your coconut milk down too much or it will be more like sweetened condensed coconut milk then thick coconut milk. You just want it slightly thickened.

Once the coconut milk has thickened, remove from heat and let cool.

Add all ingredients to a blender and blend until smooth.

Adjust whiskey to preference.

Then, Make Cupcakes!!!

Irish Cream Cupcakes

Makes Approximately 12 Cupcakes.

Cupcakes:

  • 1 Cup + 2 TBSP Vegan Irish Cream
  • 1 Tsp Vinegar
  • 3/4 Cup Sugar
  • 1/4 Cup Veg Oil
  • 1 Egg (I used EnerG Egg Replacer)
  • 1 Tsp Vanilla
  • 1 2/3 Cup Cake Flour
  • 1/2 Tsp Salt
  • 2 Tsp Baking Powder

Glaze:

  • 1/4 Cup Irish Cream
  • 1/4 Cup Sugar

Frosting:

  • 1/4 Cup Vegan Butter
  • 1/4 Cup Shortening
  • 1 Tbsp Instant Espresso + 1 Tbsp Water
  • 1 Tsp Vanilla
  • 1 Drop Almond Extract
  • Approx. 3 Cups Powdered Sugar
  • 2 – 4 Tbsp Irish Cream

Prepare muffin tin(s) with 12 cupcake liners. Preheat oven to 350F.

To make cupcakes, combine Irish Cream & Vinegar and let sit for a minute until the cream begins to look slightly “curdled.”

Add oil, EnerG Egg (or flax egg), sugar & vanilla. Combine thoroughly with wooden spoon or whisk.

Add cake flour, salt & baking powder. Combine thoroughly until there are no flour chunks & batter is smooth. I’m too lazy to sift my flour and it’s never helped me anyway.

Pour batter into cupcake liners about 3/4 full.

Bake for 22 to 25 minutes. Mine took 24 minutes but all ovens are different. Done when the tops of the cupcakes spring back to the touch.

To make the glaze, combine Irish cream & sugar in a small saucepan over medium heat. Let boil gently until glaze has thickened to coat wooden spoon. Let cool slightly.

While Cupcakes & Glaze are still warm (not hot), poke the tops of cupcakes with a fork. I poke them about 5 times each, but whatever suits you. Dip tops of cupcakes into saucepan to coat. Be careful, this can get messy. Try not to get the glaze on the cupcake wrapper.

To make frosting, beat the butter & shortening together until smooth & fluffy. Alternate between adding powdered sugar & wet ingredients (espresso, irish cream, vanilla, almond) until icing is creamy but thick. Feel free to use REAL espresso. I used the instant because not only was it much quicker but also because every time I try to use our espresso maker is leaks everywhere. I figured out the trick once but I must say… I don’t, for the life of me, remember what the heck it was.

To frost, (if you don’t have a piping bag) cut a small hole in the corner of a ziplock bag and insert a frosting tip if you have one. If you don’t, you can use the hole as your tip. Fold top of the bag over a glass and fill with icing. Lock ziplock bag and begin frosting desired amount.

Or you can always just use the old fashioned way and smear the frosting on top with a knife. That’s my usual go-to.

Check out the one cupcake below where the frosting looks like it’s about to droop off the edge. Yeah, it’s not… that’s just my natural frosting skills exemplified for all to see. It looks like it’s melting. Haha.

These cupcakes really are delicious! Enjoy!