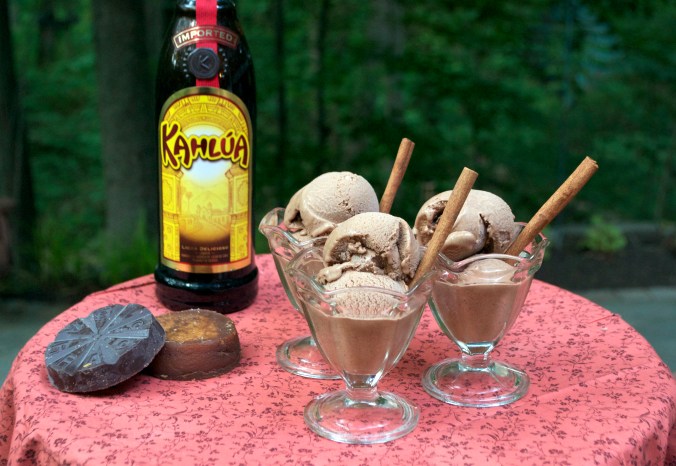
Mexican Chocolate Ice Cream

Continuing on my obsessive Rick Bayless kick…

(Okay, it’s really more of a Mexican food kick.)

And inspired by the ridiculous humidity here…

I give you….

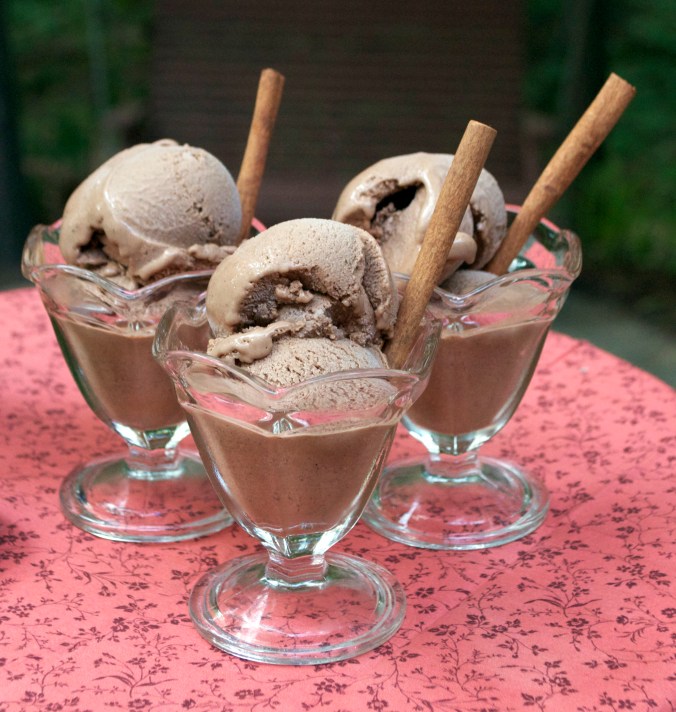
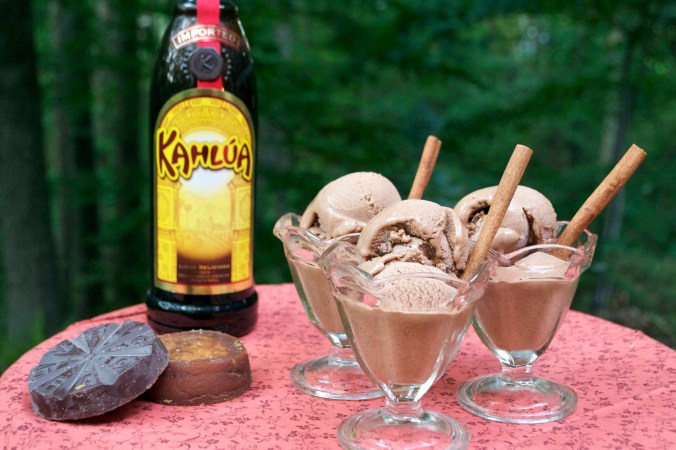
Mexican Chocolate Ice Cream. Oh. Yes.

I started seeing a lot of homemade ice cream recipes on Foodgawker months ago. People were obviously getting ready for summer early & had no self-control. Typical 🙂

From tropical sorbets to creamy, decadent peanut butter & chocolate combinations… everyone was making their ice cream at home. Still are… I think. So, naturally, I wanted in too. And I made a wonderful, albeit not very creamy, lemon-coconut ice cream (more like sorbet). It was very delicious but I used light coconut milk, despite all the information that said FULL fat and it wasn’t exactly creamy ice cream texture. We still ate it all. In April. In State College. It was still cold outside.

This Mexican Chocolate Ice Cream is like WHAM, full-on Mexican Chocolate flavor. It’s creamy and delicious. You can taste the cinnamon in the background & the kahlua emphasizes the powerful chocolate flavor. You can use ordinary chocolate, but the flavor profile will definitely be different. If you can find Mexican Chocolate (like Ibarra) I recommend you use it, at least in part. This would be delicious with any good quality chocolate. I mean, honestly, it would be good with any chocolate!

Mexican Chocolate Ice Cream

2 Cans FULL Fat Coconut Milk (15 oz)

6 oz Mexican Chocolate

2 oz Piloncillo/Panela (Mexican Sugar*)

3 Tablespoons Kahlua

1/2 Tsp Vanilla

1 Tsp Cinnamon

1. Heat coconut milk in a medium sized saucepan or pot over medium heat. You want it barely a simmer.

2. Add chocolate & sugar to melt. Stirring frequently.

3. When chocolate had melted & sugar has dissolved, add Kahlua & vanilla.

4. Bring mixture to a boil. This helps reduce the mixture – hello creaminess.

5. Boil gently for about 4 to 5 minutes, stirring constantly.

6. Remove from heat and let cool a bit before pouring into a large container for refrigeration.

7. Refrigerate for at least 1 hour. Or until mixture is cold & ready for the ice cream maker.

8. Pour into prepared ice cream maker & follow directions for your particular appliance.

9. Freeze.

10. EAT.

*Brown sugar is an acceptable substitute.
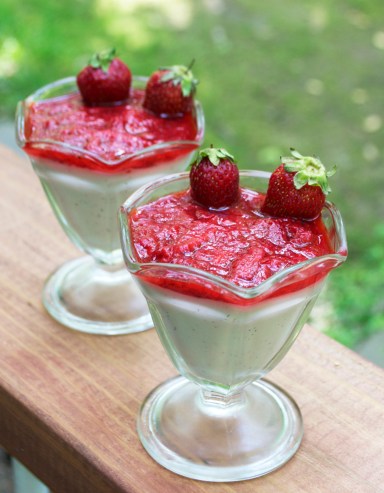
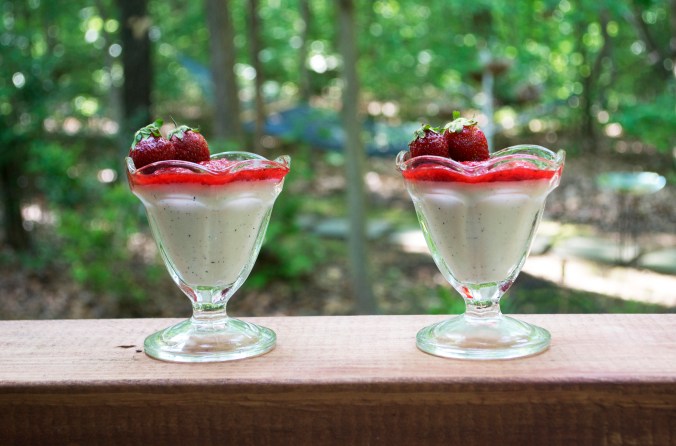
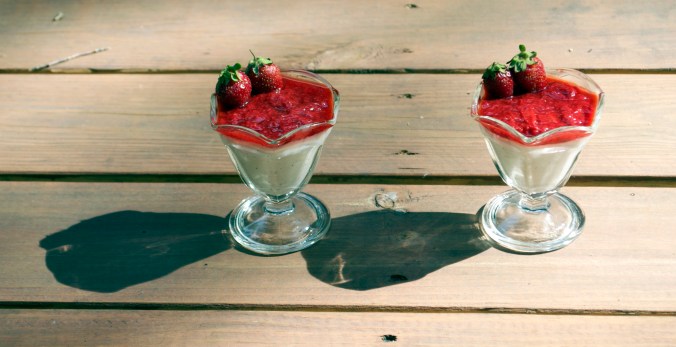
Vanilla Bean Panna Cotta with Strawberry Sauce

I’ve been wanting to make this Vanilla Bean Panna Cotta for a while now. When I first began perusing vegan recipes I came across the ingredient Agar Agar as a substitute for gelatin. Of course, I had to buy this unique ingredient when my favorite store, Echo Hill, suddenly stocked it after I mentioned it once. They offered both the powder & the flakes but as the flakes were much more expensive I, of course, purchased the powder. Then I felt doomed when I went to search for recipes using Agar Agar and found they all called for the flakes.

Until I came across an excerpt in Hannah Kaminsky‘s Vegan Desserts in which she says she prefers to use the powder. HALLELUJAH. I also love her blog Bittersweet – thus why I was checking out her cookbooks. After I made this discovery about Agar Agar powder, I immediately found her recipe for Lemongrass Panna Cotta. Okay, that was it, I was going to make some darn yummy vegan Panna Cotta.

And I did.

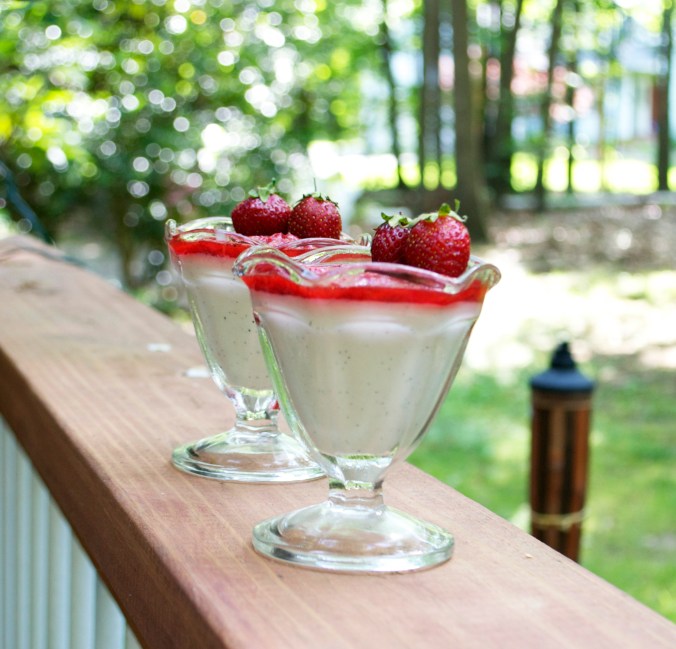
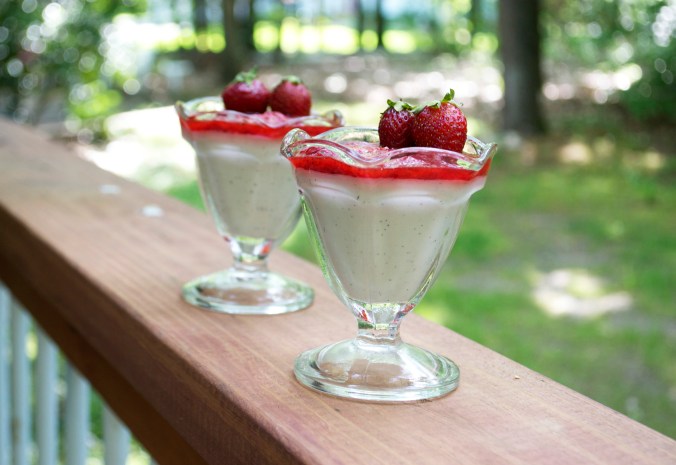
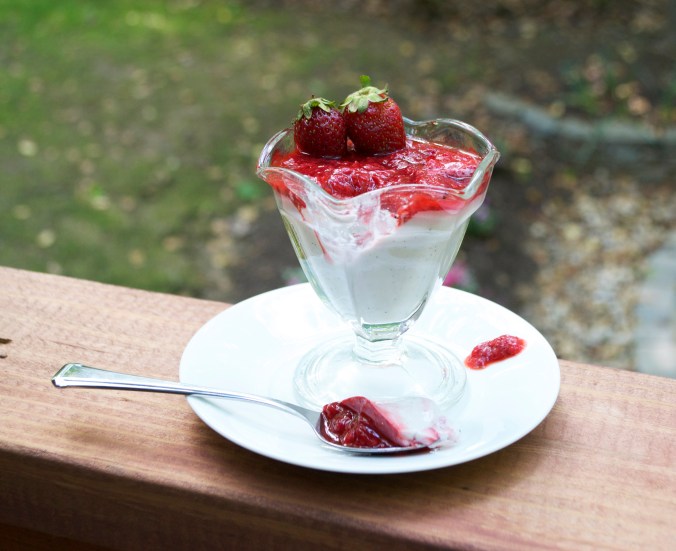
This dessert is so simple & elegant. The texture is silky & smooth. The flavor is wonderful and unique. And the strawberry sauce is the perfect compliment with a splash of brightness. It embodies summertime. In your mouth. So I suggest you make it. And then eat it.

Vanilla Bean Panna Cotta with Strawberry Sauce

    2 Cans Coconut Milk, Full Fat

2 Vanilla Beans

1/4 Cup Sugar

2 1/2 Tsp Agar Agar Powder

1 Cup Fresh Strawberries, sliced & mashed

1 Vanilla Bean

3 Tbsp Sugar

1/2 Tsp Cinnamon

Before you start… You’ll need about 6 5oz dishes or 8 4oz dishes. So maybe get out about 7 ; )

In a small bowl combine your sugar & agar agar thoroughly. Set aside.

In a medium saucepan, over medium heat, combine your coconut milk & the scrapings from your 2 vanilla beans. When the coconut milk is hot add the sugar mixture. Whisk gently & increase heat to high. Bring the coconut milk to a boil while continuing to whisk gently. Boil for about a minute or two.

Pour into various ramekins/small dishes.

Let sit at room temperature for 30 minutes to 1 hour before putting in the refrigerator for 1 to 2 hours. If you move the mixture into the cold too soon the mixture could separate.

For the Strawberry Sauce:

In a small saucepan, over medium-low heat, combine the smashed strawberries, vanilla bean scrapings, sugar & cinnamon. Allow to cook over heat for about 10 minutes until the strawberries completely break down. Stir frequently to prevent it from burning.

Pour evenly on the dishes of chilled panna cotta & serve or return to refrigerator to allow sauce to chill. Whichever you prefer! I served it both ways. I think I prefer the cold.

Don’t forget to serve with spoons 😉

I used the vanilla beans liberally because I bought them in bulk at a very good price. You can substitute a teaspoon or two of pure vanilla extract if you don’t have vanilla beans or don’t want to use 3 in one recipe. I definitely recommend at least one for the panna cotta… the tiny black vanilla bean specks are so wonderful to see!

Magical Brownies

Wow, it’s been a month. I’d tell you I’ve been busy, but I’d be lying. It has been an eventful month though. Don’t worry, I won’t disappear again. I have some great recipes to share for summer 🙂

What happened this May:

  • My oldest brother got married! Now, I have a wonderful big sister : )
  • Stephen graduated the SAME DAY from Penn State. And I had to miss it : / Bridesmaid duties.
  • But then I helped him move out of his apartment in State College.
  • I scheduled my classes for the first semester of my Global Environmental Policy  program at AU.
  • And bought the books for one of my classes… not including the one yet to be released. I also started to read one of said books… A Sand County Almanac by Aldo Leopold (it’s pretty fantastic).

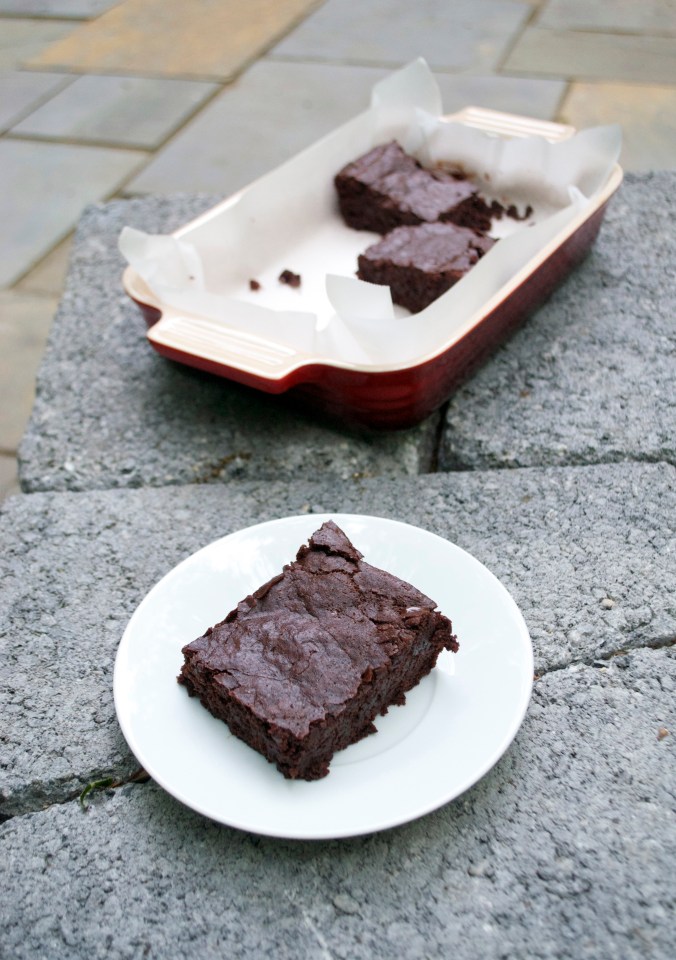
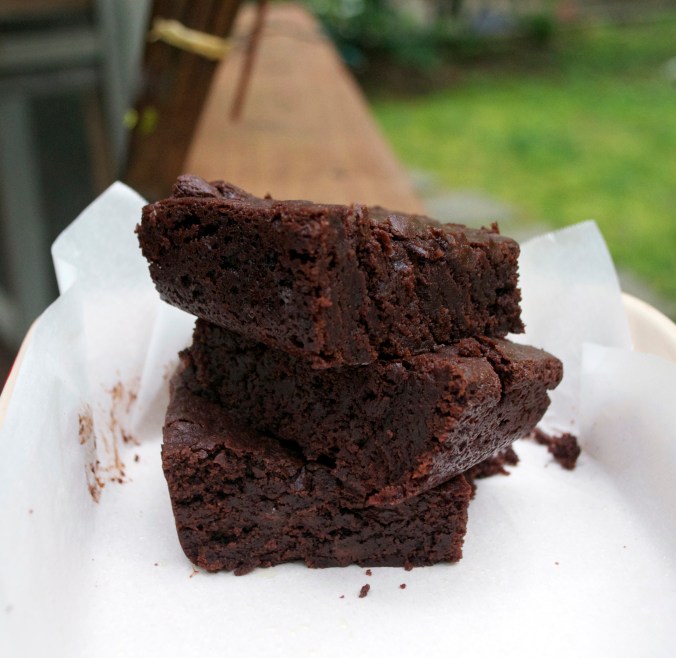
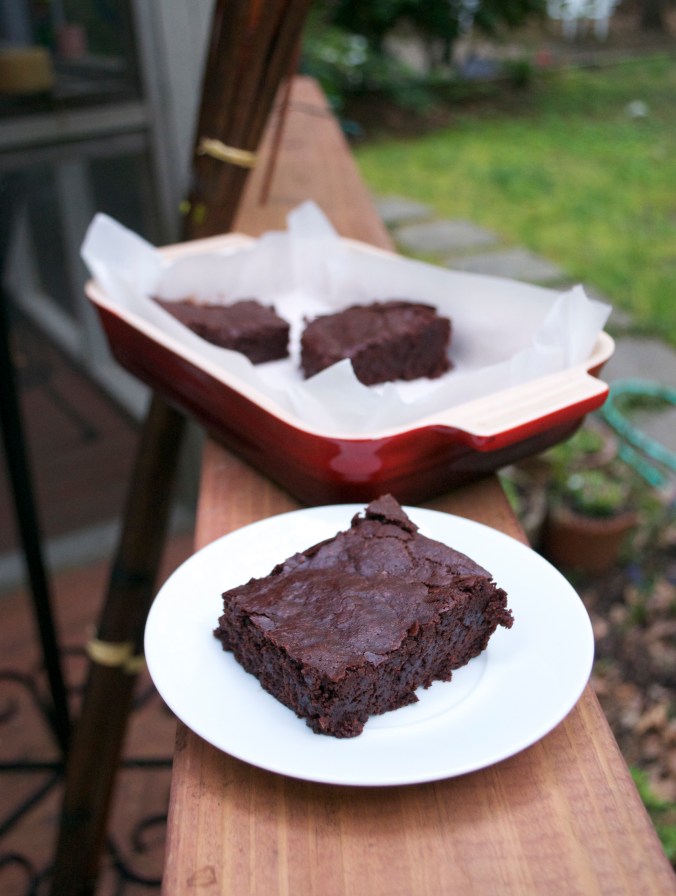
These are celebratory brownies!

These are amazing brownies!

These are magical brownies! (No, not “special.”)

These are the brownies I never thought I’d ever be able to make from scratch 🙂

Let alone, make vegan.

They can be enjoyed by themselves. With a nice glass of your milk of choice. Or topped with a huge scoop of ice cream & some fudge sauce <—- yes, please. Brownie sundaes ❤

And make them I will, again and again and again for the rest of my life… so long as chocolate is available. I read an article recently that said the demand for chocolate is increasing so rapidly that the production of chocolate won’t be able to meet the population’s “needs.” Apparently, cocoa farmers/producers are straining their farms to produce greater quantities of cocoa than they realistically have the capacity to produce. AKA, the cocoa plants need more TLC than they’re receiving & are becoming weak. I wish I could remember where I read this. I’m sure, in our modern age, you can “GOOGLE” it.

Magical Brownies

1/3 Cup Chocolate Chips + (1/3 Cup Chocolate Chips optional)

1/3 Cup Cocoa Powder

4 Tbsp Coconut Oil

4 Tbsp Neutral Oil (Veg/Canola/Olive)

2 Ener-G Eggs

1 Cup Sugar

1 Cup AP Flour

1 Tsp Baking Powder (scant)

1/2 Tsp Salt

1 Tsp Vanilla

1/4 Cup Almond Milk

Directions:

Line an 8×8 pan with parchment paper & preheat oven to 350.

In a double boiler, over low heat, melt chocolate chips with cocoa powder, coconut oil, and vegetable oil.

In a small bowl or measuring cup, prepare Ener-G eggs (or flax eggs). Set aside.

In a medium-sized, mixing bowl, combine flour, sugar, baking powder & salt.

When the chocolate is completely melted, add to dry ingredients.

Add the ener-g eggs, vanilla & almond milk.

Stir to combine completely. Add additional chocolate chips (for best results… aka chocolatey-ist) and stir.

Pour batter (it should be a bit thick) into lined pan.

Bake until toothpick/knife inserted in center comes out clean. EDIT: About 35 – 45 minutes.

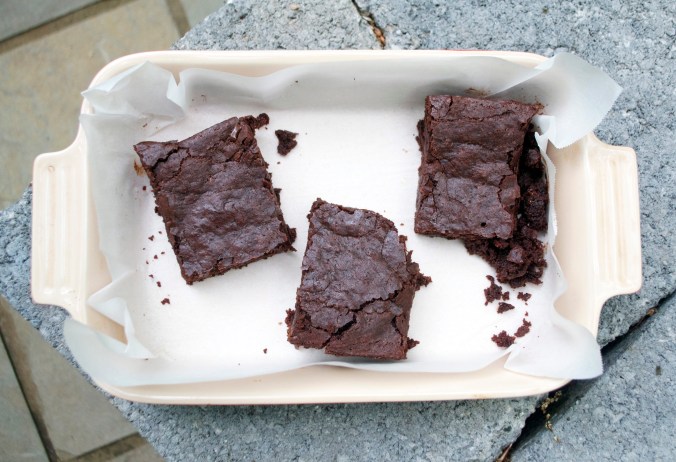
I suggest checking on them every so often. I’ve baked them in a le creuset enamel pan & a glass pan and the time varied a bit.

Now cut them and….. (oh yeah, let cool a bit)…. NOW….

Devour!!!

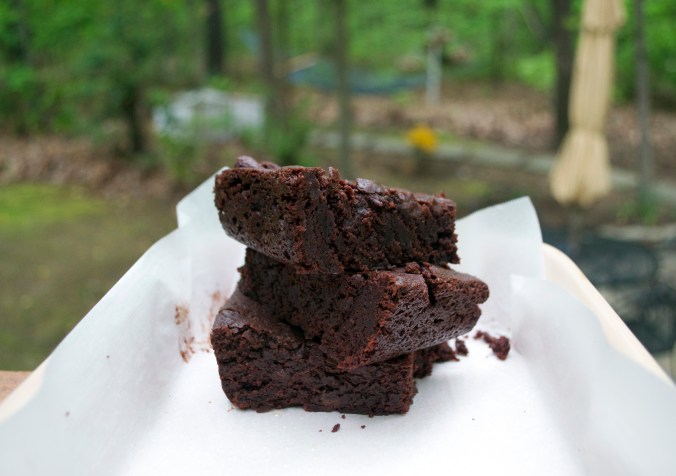
Okay, I’m running to the grocery store so I can make these again today. These pictures are making my stomach RAWR!!